

With the introduction of virtualization technology into our lives, many technologies have started to be offered to people by companies as cloud services. People started to access these services offered very easily, and buying and using the services from these companies made them spend less effort than the effort they spent in their on-prem environment. Today, we will discuss Microsoft’s Azure service, one of these companies.
Azure has 169 unique services in-house. In our topic, we will cover 3 of them, namely Azure Key Vault, Azure CosmosDB, and Azure Functions.
This scenario will be in 2 parts. In this part, we will prepare our code environment to test and deploy our app.
AZURE FUNCTION APP
Azure Functions allows you to think less about deploying your apps, maintaining servers, and saving on cost. With Azure Functions, instead of taking care of such things, developers can now do better quality work by devoting more time to the code they will write.
DIVE INTO AZURE PORTAL
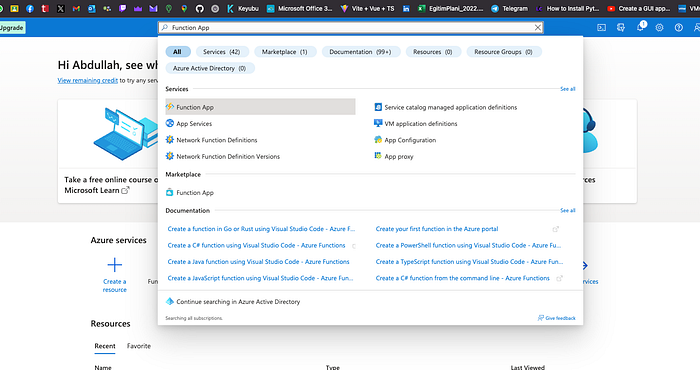
On the home page, search for Function App.
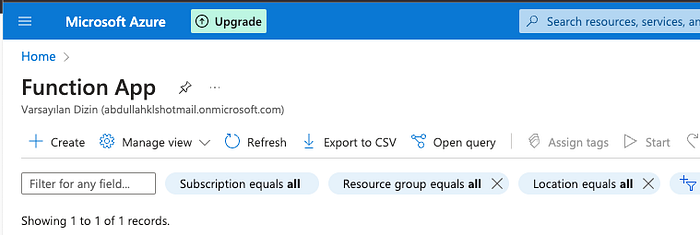
Create a new Function App.
Choose necessary configurations.
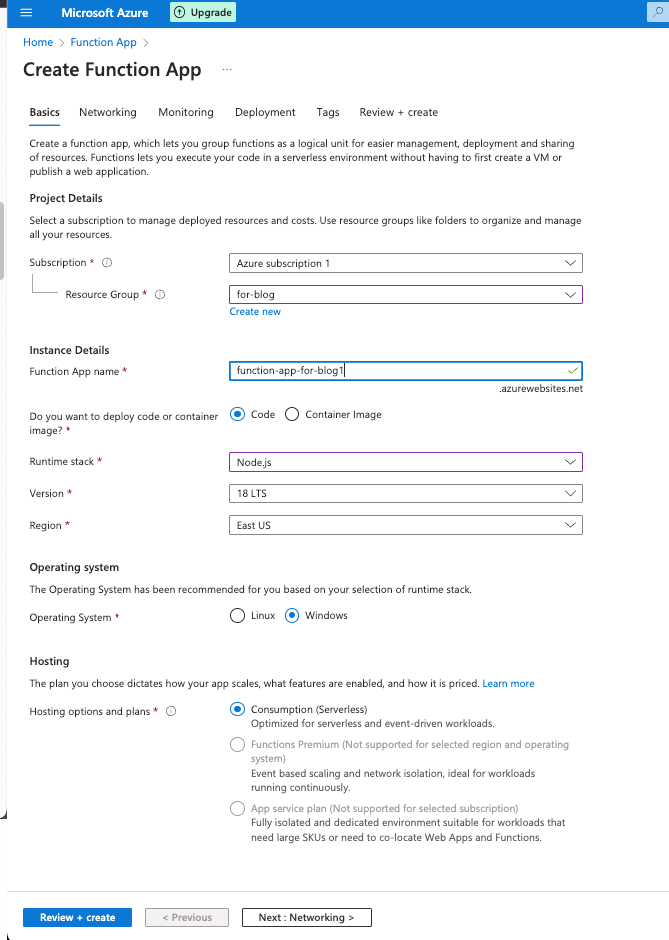
If you have a limited account like Student account, you can only choose Consumption Plan. But this time it is not important. Let’s choose Consumption Plan and create our Function App.
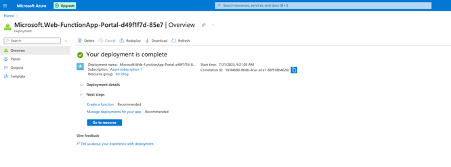
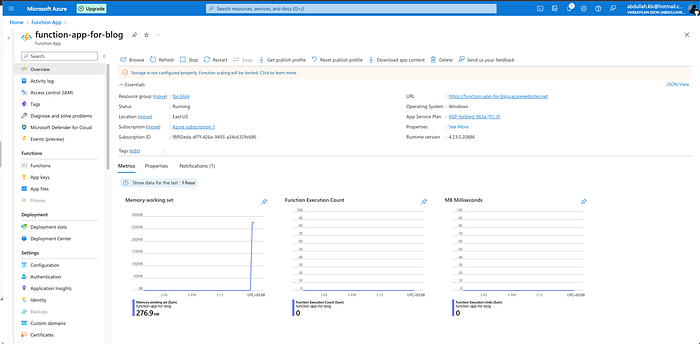
Wait until the application is deployed then go to the resource.
There we have some pages to configure and use our App. But for this scenario, we will consider just a few of them.
After creating the App, I recommend using Visual Studio Code to test your App. Some programming language does not support Portal Code Editor. It is more stable to use Visual Studio Code to test your App. When you finish writing your app, you can deploy it to Azure Portal with Visual Studio Code Azure Extensions easily. Before writing your code, you should be sure about whether you installed Azure Functions Core Tool to prepare the perfect environment. It can be installed with a .exe file or using a command line.
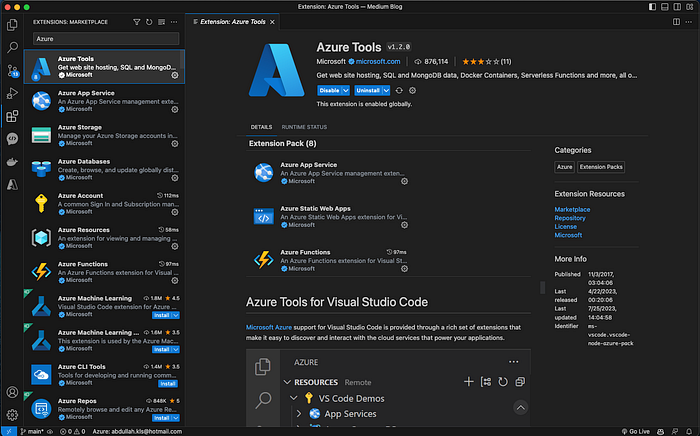
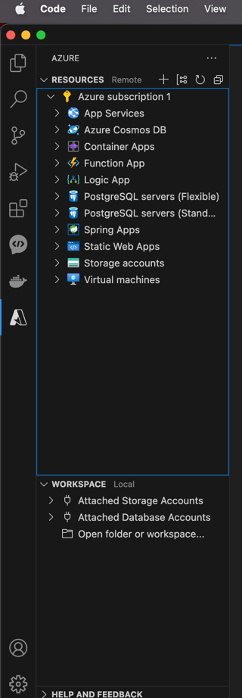
Install Azure Tools Extension on Visual Studio Code and sign in to your Azure Account.
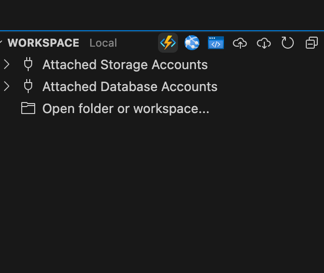
Click Azure Functions App icon and choose Create New Project. It will create your code environment in a folder. Choose a path to store your code environment locally.
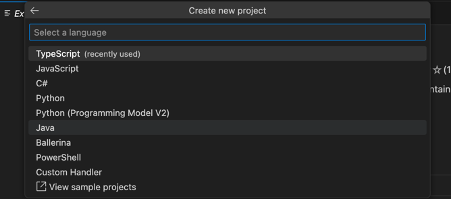
Then select your code language. I will choose Typescript. You can choose whatever you want.
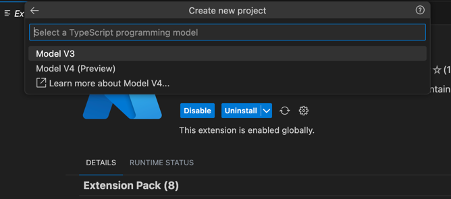
Select your language model. The model level is updated as new updates and features are added.
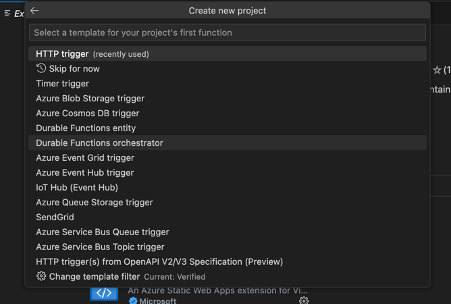
Because we create an API, we should choose HTTP trigger here.
Name your first Function for HTTP trigger. It will be a post function for me that’s why let’s name it Post.
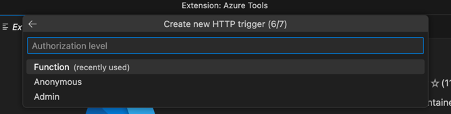
Choose Function.
And here is a code template.
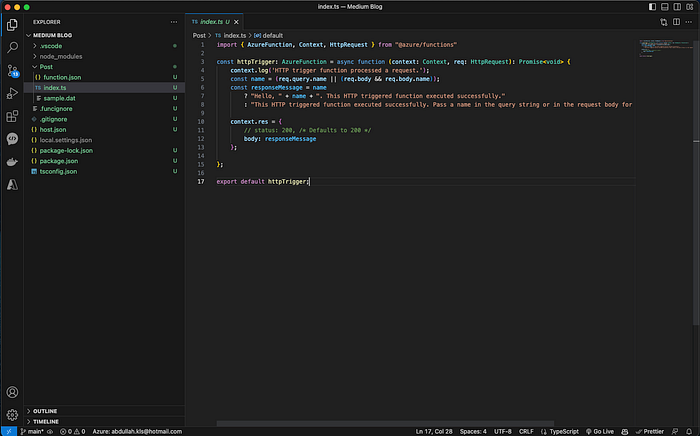
We prepared our test environment. Let’s go write our App.
In the next part, we will cover Post function for our app.